In this post, you'll learn ...
- How to measure for your vertical blinds.
- What tools are needed for vertical blind installation.
- How to install vertical blinds and hardware.
- How to use vertical blinds.
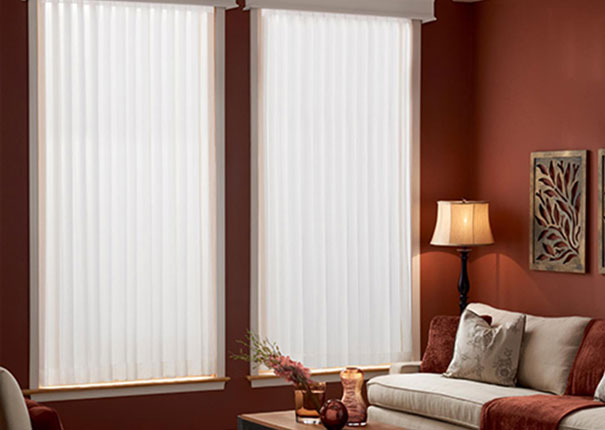
Vertical blinds offer home owners privacy from the outside, while allowing for easy light control options. Verticals are perfect for use on an enclosed patio, as they block UV rays and can cover the length of the windows.
Vertical blinds are installed with a bracket at the top or on the interior of a window opening. The blinds consist of long panels that hang from the bracket to the floor measuring approximately 2.5 inches wide. These slats can be opened to allow more light into the room or closed to provide shade and privacy.
If you are considering purchasing vertical blinds for your window, check out Stanek® Windows collection. We offer custom-made vertical blinds in both fabric and vinyl, and with our large assortment of colors, we are sure to match all home decors. If ordered through Stanek®, we will take care of the measurements, order the material and install your new vertical blinds for you.

But, if you prefer to do the install on your own, this handy tip sheet will walk you through the steps you need to take to properly hang your new blinds.
You will need
- Tape Measure
- Electric Screw Driver
- Pencil
- Vertical blinds and hardware
Step 1: Determine Inside or Outside Mount
Inside Mount Blinds
Inside mount blinds are attached to the inside of the window frame. You want a window depth of at least 2.5 inches in order for the blind mount to fit, and this measurement is taken of the depth of the window frame.
When taking measurements for inside mounts, take three on the inside of the window: one at the top, one at the middle, and one at the bottom. Then use the shortest width measurement for installation purposes.
If you are ordering custom blinds you will need to give these measurements to the company; if you are purchasing blinds on your own, take these measurements to the store and match them with available vertical blinds.
Keep in mind when measuring the window area that protruding door handles might be so large they push into the blinds when installed. This is particularly true for large sliding glass doors. Measure the depth of the handle and compare that to the measurement of the depth of the window to ensure the handle will be properly covered when the blinds are shut.
Outside Mount Blinds
To use an outside mount you will want to hang the blinds leaving approximately four to six inches of space around the window. Otherwise, light will filter in and the blinds will not offer complete privacy and coverage.
Step 2: Measure the Area you Wish to Cover and Add a Few Inches
Measurements must be exact in order to fit the blind into the space, but you must also add extra to the height and the width of the blinds to ensure complete coverage of the window. This extra enables you to completely block light that might slip through the spaces below or above the blinds, or on the sides. Add approximately four to six inches to the width and height of the window to properly block incoming light and to maximize privacy when the blinds are closed.
When purchasing verticals that will match your window’s measurements, the width of the vertical is noted first and then the height second. For example, a measurement of 70 by 50 inches means the window is 70 inches wide by 50 inches tall.
Step 3: Hanging the Brackets
Using a level, create a line along the top of the window or on the inside, depending upon your mounting. Ensuring that this line is level is important so the blinds will hang evenly.
Using a pencil, mark the areas in which you will install screws. Use the top rail as a guide. Use a drill to create a hole smaller than the screw so the screw will be stable. Drill holes on the pencil markings for the screws.
Install the bracket into the drilled holes.
Step 4: Installing Blinds onto Brackets
The installation of the blinds onto the brackets will depend upon the type of vertical blind you’ve purchased. Each manufacturer should include information about hanging the specific blind you purchased. Follow those instructions.
Keep in mind the head rail should not move at all when in place.
Step 5: Attaching Vertical Blinds to Head Rail
Begin by locating the hole in each vane, which is located at the top of the vane. This hole will slip onto the clips attached to the head rail. When attaching your actual blind to the head rail you’ve hung, make sure you are attaching them so that they all point in the same direction.
Step 6: Attaching Pull Cords
Pull cords allow you to open and close the blinds. If your vertical blinds come with a pull cord, attach the mount at the bottom of the wall using a stud.
Contact a Stanek® Windows representative today at 1-800-230-8301 or online to set up a free, in-home design consultation for your new window treatments.
 You May Also Be Interested In: