Blog Post Updated on: August 3, 2023.
In this post, you'll learn ...
- How to paint vinyl windows.
- Each step from cleaning, to sanding, to priming and painting.
- Other ideas on how to give your home a fresh look.
- Would you prefer to get new windows instead of undertaking this project? Browse our color options.
1. Consider Replacing Your Windows
While replacing your windows might not be feasible, it’s something you should consider before you paint them. If they are old, damaged, foggy or drafty, it’s time to replace them. It’s wise to at least explore replacing your windows before you paint to cover up any problems.
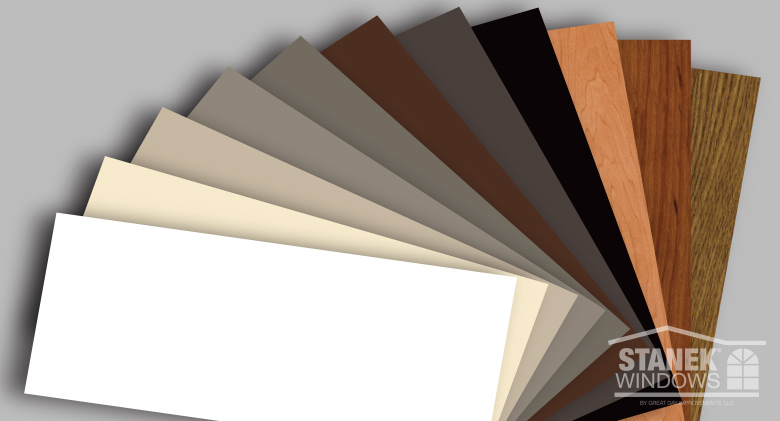
At Stanek Windows, for example, we offer several color and woodgrain options. For the interior, you can pick from three woodgrain options of rich maple, foxwood, or dark oak. Our woodgrain options give you the look of real wood without all the maintenance. You also have the option of choosing white or beige. On the outside, there are even more color options including Tudor brown, bronze, pebble, adobe, black, sand dune and, of course, white and beige.
While replacing your windows is more expensive, the investment will save you time and money in the future. When you replace your windows, you can choose more energy-efficient options thus making it easier for you to heat and cool your house, lowering your utility bills.
2. Check with the Manufacturer
If possible, you will want to check with your window manufacturer on how to paint their vinyl windows. In some cases painting your vinyl windows will void the warranty. Some manufacturers will tell you that painting the windows will cause them to absorb more heat, which can damage them. You should know what you’re getting into before you start your project.
Some manufacturers will allow you to send them a paint chip so that they can verify whether or not the paint is appropriate. Even with the vinyl-safe paints, you typically don’t want to paint light colored vinyl too dark.
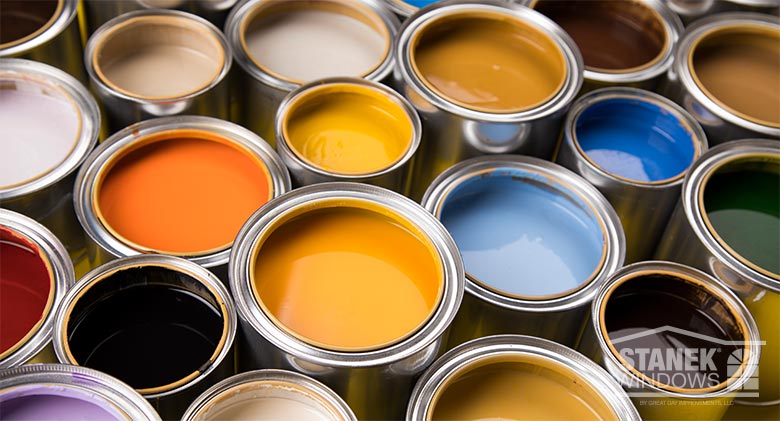
3. Pick the Right Paint
If you are set on painting your windows, the first priority is finding the right primer and paint. Different brands recognize the need for these paints and offer vinyl-safe paint in cans, in spray paint form, and reflective polyurethane enamel. Before you paint, you typically need to apply primer first, and there are many vinyl-safe primers available. You can even find vinyl-safe spray primer. Be sure you carefully mask and protect the glass and surrounding area if you’re using a spray.
Some manufacturers will have recommendations on the best paint for window frames and what colors you should use if you choose to paint their vinyl windows. For example, if you have white windows, you will want to avoid very dark colors. Professionals recommend that white windows should only be painted colors with a Hunter L value of 60 or higher. With this scale, 100 is white. If you have sandstone or terratone colored vinyl frames, you can paint them with any color that has a Hunter L value of 40 or higher. Some types of dark vinyl windows, such as forest green, should not be painted.
Neutral colors such as brown, gray, or beige are typically a good choice and they will go well with a variety of color schemes on both the interior and exterior of your home.If you choose something bold and bright, it may be hard to update the look of your home in a few years without clashing or repainting the windows.
As you can see, it really is important to check with the window manufacturer prior to painting the frames. It’s also a good idea to go to a reputable paint store with knowledgeable professionals and talk with a store associate before making your purchase. Lastly, before you buy paint, carefully read all the fine print on the paint can to make sure that it’s a good match for your project.
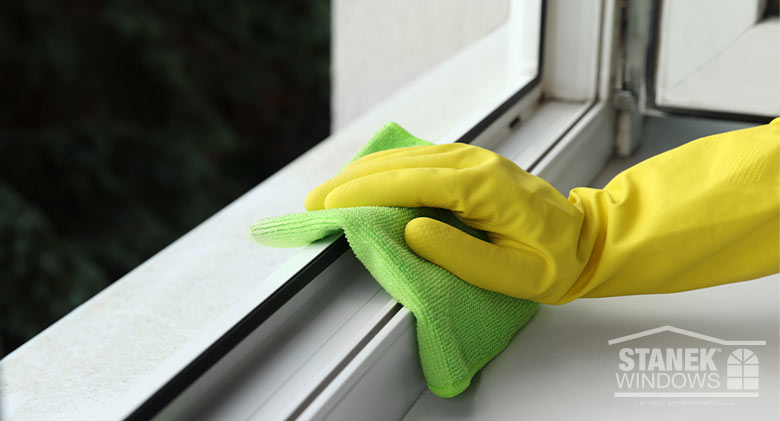
4. Clean and Dry the Windows
The next step, whether you are painting the exterior or interior window frames, is to clean the windows. Removing the dirt and debris prior to painting helps to ensure that the paint adheres properly. You can clean the windows with diluted dish soap by adding a little soap to a bucket of water, and clean the window frames with a soft, lint free cloth. Rinse off all the soap before you let the windows dry. You can also clean the windows with acetone, if available, and let them dry before painting. Do not start sanding until your windows are completely dry.
5. Sand the Windows
Vinyl is not an easy surface to paint, as it tends to repel liquids like paint. As a result, you need to sand the window frames prior to painting them to help the paint adhere. You can use 220 or 240-grit sandpaper. Sand until the surface feels rough to the touch. Once you have sanded all parts of the frame that you intend to paint, clean off the dust. Be very meticulous with this because the dust will stick in the paint and make the finish look uneven and unattractive.
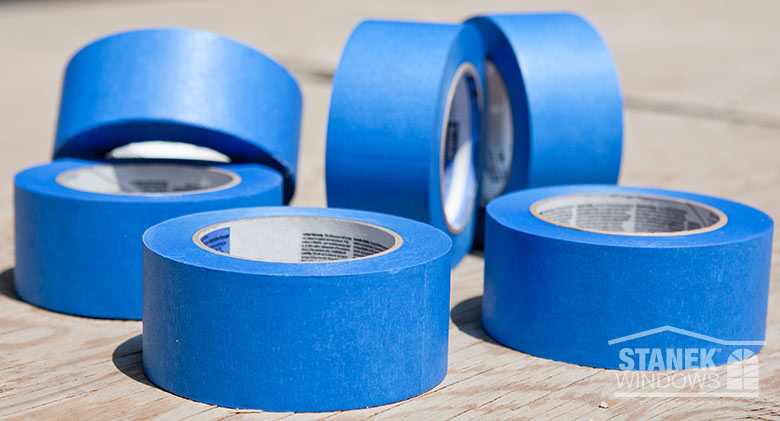
6. Break Out the Painter's Tape
Once the window has been cleaned and sanded, it’s time to cover everything you don’t want painted. You can use plastic sheeting and painter’s tape to cover the window panes, weather stripping and the walls, if necessary. Cut pieces of plastic sheeting to fit in your window panes and carefully tape them in place.
Be sure that you do not tape over any part of the window frames. If you do, that area will not have any paint on it when you’re finished. If you are using spray paint, cover the area around your windows to ensure that you do not accidentally spray your walls.
Put down a drop cloth if you are painting inside. Plastic sheeting will also work, but it can be slippery, so be careful if you use it. An old sheet can work as well, but you will want to clean up messes quickly as paint will often soak through a sheet rather quickly.
7. Prime the Windows
The next step in painting your vinyl windows is to prime the window frames. Again, you want to make sure that you use a primer that is specifically made to work on vinyl. Some people recommend an alkyd-based primer. Typically, you only need to apply one coat of primer. If you are not using spray paint, apply the primer with a sponge brush. This will help you to avoid brush marks, which can give the window an uneven appearance.
Once you have finished applying the primer, allow it to dry completely. This will usually take a couple of hours. Always read the instructions on the primer itself and follow them when it comes to application and drying time.
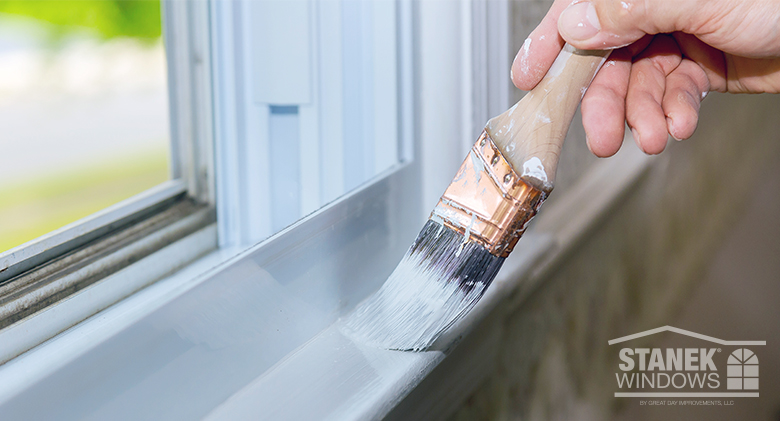
8. Paint the Windows
Once your primer has finished drying, you can apply your paint. Again, it’s very important that you use a vinyl-safe paint. If you are not using a spray paint, it’s a good idea to use a sponge brush. Do not apply too much paint at one time since this can cause the paint to drip. If it does drip, clean it up quickly. If the drip dries, it will make the frame’s surface appear uneven.
Typically, you will need to apply two coats, and you will need to let the first coat dry completely before applying the second. If you try to rush it, the paint could peel, streak or look uneven when it’s finished.
9. Clean It Up
You will also want to gather up your supplies and your drop cloths. Be sure that your drop cloths are dry before you put them away. They may still have wet paint on them, which can then get on you, your floor, etc. If you used brushes, rinse them thoroughly before the paint dries or, if you used inexpensive sponge brushes, just throw them away.
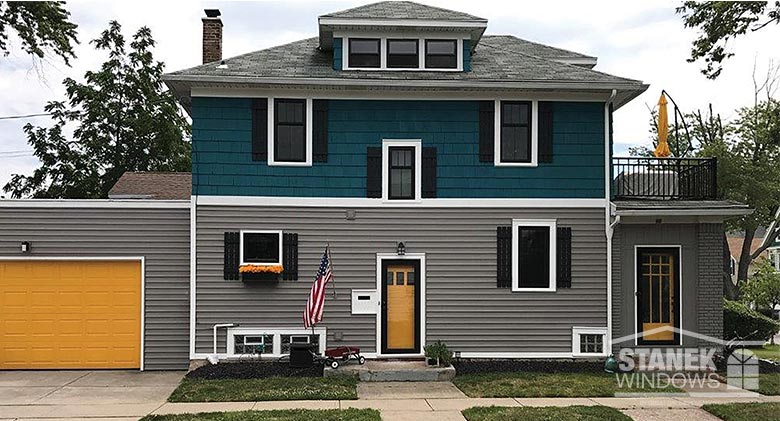
10. Other Options
Painting your vinyl windows, whether you are painting the interior or exterior frames, is a lot of work. It’s even harder to paint the exterior frames because you will often need a ladder to reach everything. If you would like to change your house’s appearance without having to do this, there are a couple of things that you can try.
You can replace your windows, as mentioned above, with a brand that comes in a variety of colors. This way you can find something that matches your tastes. If you are replacing your windows, and you cannot find the color that you like, you should consider white. For example, you may want a certain shade of green that simply isn’t offered. White, however, goes with nearly everything in terms of paint colors, furniture, fabrics, etc. Other neutral options often include dark brown or beige. These colors work well with nearly every color scheme as well.
Lastly, try cleaning your window frames first. Exterior frames can get dingy over time. You might find that once the frames have been cleaned that you actually like the color and the way it looks with your home.
So, Before You Paint Your Vinyl Windows
Before you rush off to paint your vinyl windows, you want to make sure that you do the following:
- Talk to your manufacturer first — a cosmetic change might not be worth voiding your warranty.
- Pick the right primer and paint and be sure to choose an appropriate color. You do not want to damage your windows.
- Clean the windows, sand them, and then clean them again. Make sure to carefully cover anything that does not need to be painted like the glass, the weather stripping, the wall, etc. It might be tedious to do so much prep work, but it’s crucial if you want a polished result.
- Prime the windows and let it dry thoroughly before you apply the paint. If you’re putting on more than one coat of the finished color, be sure it dries completely between coats to avoid an uneven appearance.
Painting your vinyl windows is not the easiest or quickest DIY project. If you’re not sure if you want to paint or replace your windows, contact Stanek Windows today and schedule a free in-home estimate. We’ll come to your home and provide a free quote, which will contain all the information you will need to decide what’s best for your home. An upgrade may be more affordable than you think and save you time and money down the road.
 You May Also Be Interested In: