In this post, you'll learn ...
- What options you have for updating your front door.
- How to measure for door hardware placement.
- What to expect when changing door hardware.
Updating Door Hardware: A Beginner's Guide
First impressions are everything, for you and your home. Often your home’s first impression will be when a visitor walks up to your home. Go outside and look at your entry door as if you were a stranger. If the door looks rather bland or you notice chipped or tarnished hardware, then it may be time to update.
Not only is changing door hardware easier than most think, it can also change the visual appeal of your home’s whole entrance way. Not to mention, it’s generally one of the most inexpensive upgrades to boost curb appeal.
Why Update Your Door Hardware?
- First Impressions Matter: Your front door is the first thing people notice. Fresh hardware can update and help modernize the look of your entryway
- Budget-Friendly Upgrade: Changing your knob or lock is one of the most affordable ways to enhance your home's style.
- A Quick DIY Project: This simple weekend activity requires minimal tools and effort.
Step-by-Step Guide to Changing Door Hardware
Before you begin, start by getting your space ready by gathering the supplies you'll need for the project.
- You will need new handles and locks that fit your existing door measurements, a screwdriver, and a drill.
- Read the instructions included with your hardware kit—they'll typically guide you step by step.
Step 1. Measure Your Door Hardware
The first step in this door upgrade will be determining where the holes should be placed. To expose the holes in the door, remove the interior lock hardware. Before replacing your hardware, you must check what you currently have. Removing the interior knob or handle will expose the holes in the door.
To measure the spread, you'll measure from the center of the knob hole to the center of the lock hole - this determines your "spread." Your replacement set has one piece of exterior escutcheon that holds the latch and lock cylinder; the spread must match those holes exactly. Now is the time to check.
To measure the backset, you'll take measurement from the inner edge of the door to the center of the knob and lock holes. This measurement should be 2-3/8 or 2-1/4 inches in most cases.
Step 2. Choose New Hardware for Your Door
When you're selecting new hardware for your door, you have two lock options: tubular or mortise locks.
- Tubular locks are installed in two holes, are more widely available, and are less expensive.
- Mortise locks are installed in one hole, are sturdier, and usually require a locksmith to install.
Make sure that the new hardware you pick matches your measured spread and backset.
Step 3. Remove the Old Hardware & Install the Latch and Deadbolt
To begin, remove your old entry set. Start by unscrewing the mounting screws that attach the interior knob and locking hardware to the exterior handle and lock the cylinder.
Next, unscrew the faceplates on the inner edge of the door to take out the deadbolt and latch bolt. After that, you can replace the existing strike and latch plates in the door jamb with the new ones from your entry set.
Align the new latch bolt and lock into their respective slots on the door. Secure them with the screws provided in your set. Ensure they fit snugly into the door jamb for smooth operation.
Once you have reinstalled everything removed, you will have a new deadbolt and latch bolt in place. This setup should make it very easy to insert your new handle set and screw it into place.
Step 4. Attach Your New Handle or Knob
Once you have the exterior door hardware on, you'll need to secure the interior door hardware. Fit the new lock over the projecting cylinder post and place the new knob's spindle and rosette assembly onto the thumb latch post. If these terms sound unfamiliar, do not worry. Most of the knob/lock/handle assemblies should have everything marked and labeled for you.
Take your interior knob and put it on the spindle, and tighten its setscrew. You'll also have a mounting screw to insert that will steady the base of the handle. Your set should also come with a decorative cover for it.
Insert the handle or knob into the exterior hole. Secure the interior hardware by tightening the knob or handle to the exterior set using the provided screws. Before marking the project as complete, test to make sure that the door and locks are properly aligned and close correctly.
Step 5. Final Touches
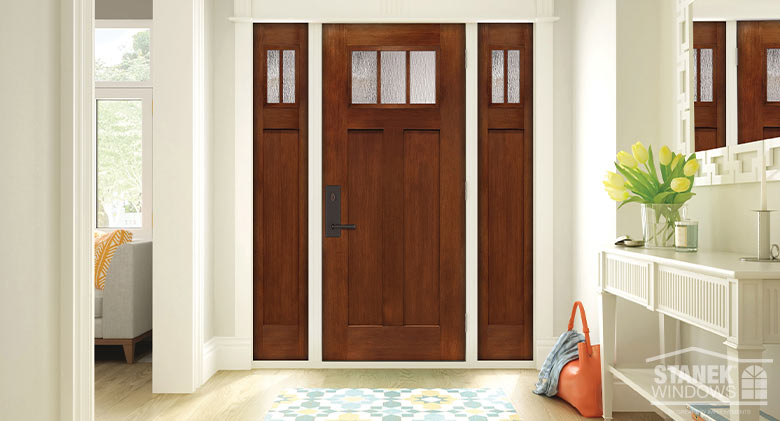
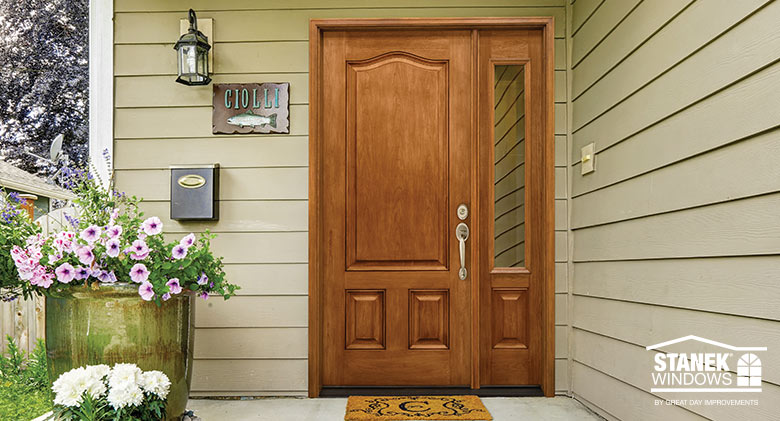
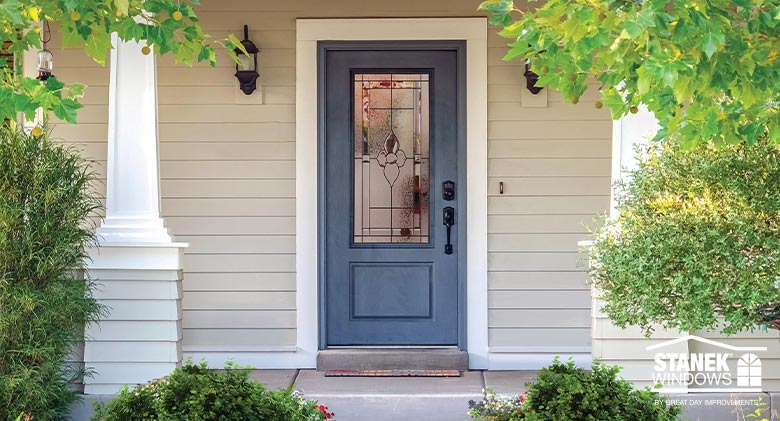
Door hardware comes in many amazing styles. Whether you love sleek modern finishes, rustic farmhouse vibes, or classic designs, you can match your home's personality!
A new knob and lock can give a door personality. By choosing your own set, you can ensure that your door has the exact hardware you want and it's installed to last a while. Knobs and handles come in so many different styles for a reason: these items are crafted to match your home's personality. You might want something sleek, something eye-catching, something quiet.
Need More Than a Hardware Update?
First impressions truly are everything, especially when it comes to your home. Breathe some fresh air into your entranceway by changing door hardware and adding the exact personality you want.
Transforming your door hardware is a budget-friendly, beginner-friendly project that delivers impressive results. With the right tools and patience, you'll have a refreshed entryway that leaves a lasting impression.
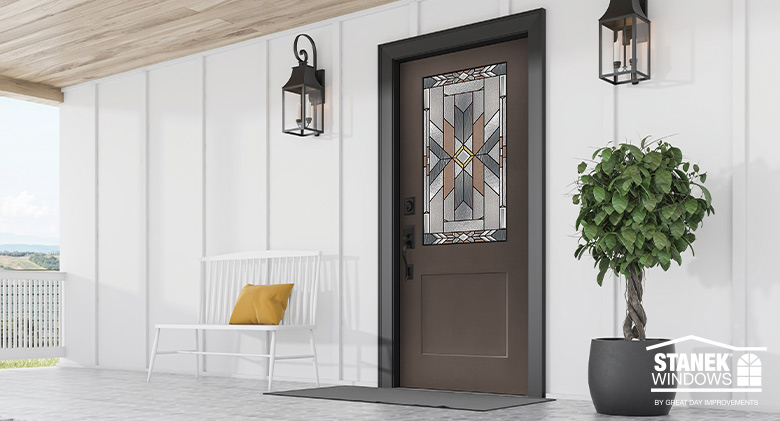
Realizing that more than the hardware needs to be upgraded? Stanek Windows offers an extensive selection of Waudena fiberglass and steel entry doors custom made for your home. Check out our entry doors online today or schedule a free and convenient in-home estimate. We will bring everything to you.
 You May Also Be Interested In: